Kraken Academy
Learn the ropes, rule the seas
Getting Started: How to Connect Your Calendar 📅
Connecting your calendar with the CRM allows you to easily manage appointments and meetings. Here's a simple guide to help you connect your calendar and configure your availability.
1. Access Your Profile Settings
Log in to your CRM account.
On the left sidebar, click on Settings (usually found at the bottom).
Select My Profile from the options.
2. Add a New Calendar
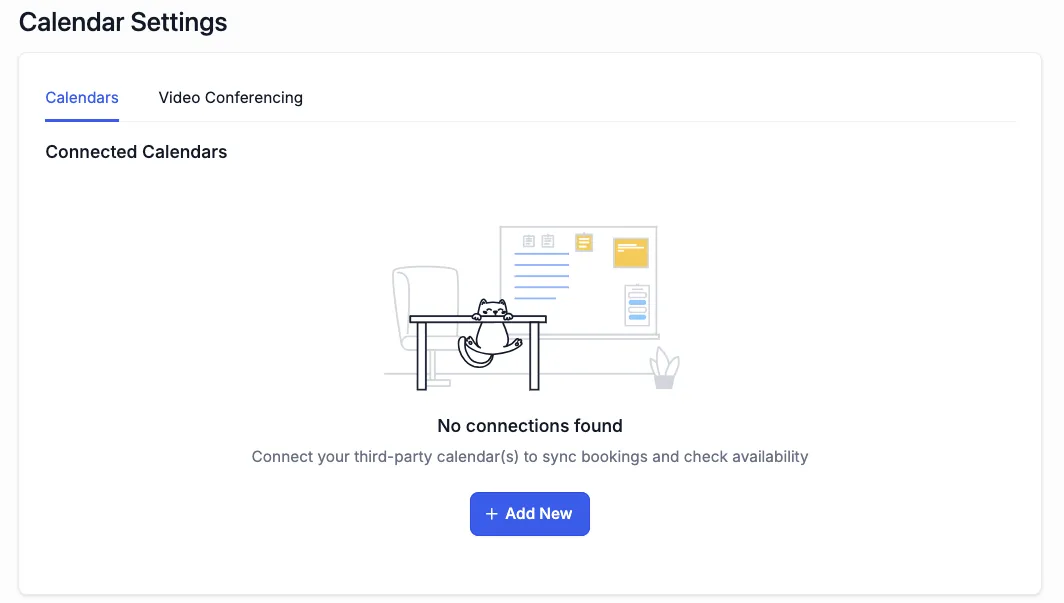
Scroll down to the Calendar Settings, then navigate to the Calendars tab
Click the blue button labeled + Add New.
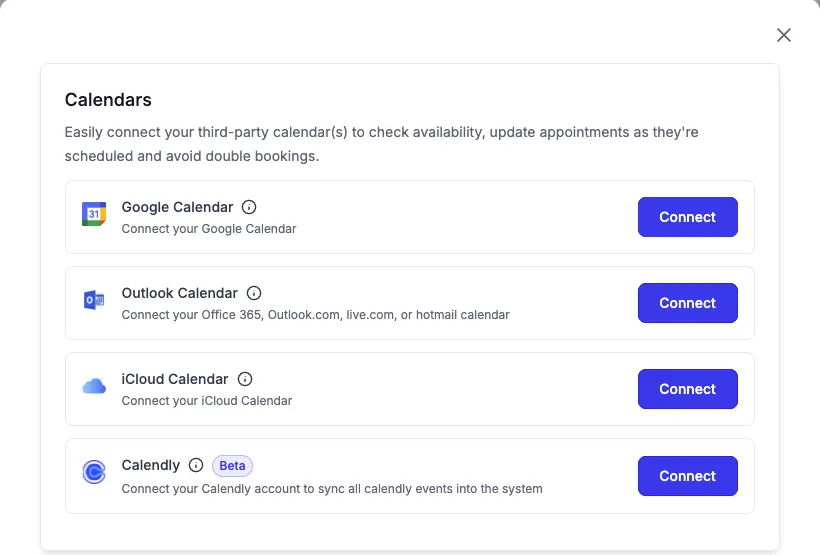
Choose your calendar provider and click Connect. Follow the login directions for your selected calendar provider.
3. Confirm the Sync
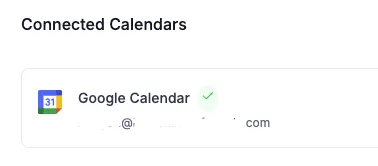
You'll know your calendar is successfully connected when you see a green checkmark next to your calendar's name.
Now, proceed to configure your calendar settings.
4. Configure Your Calendar
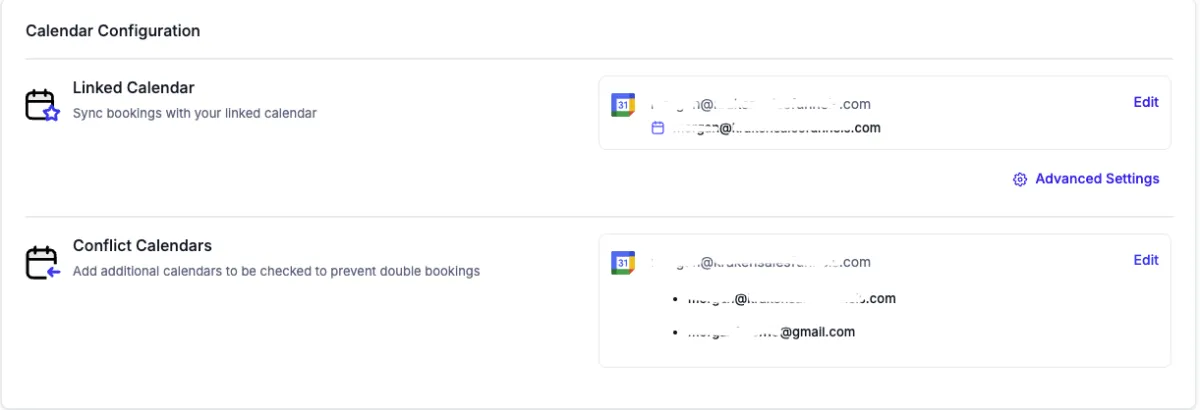
In the My Profile > Calendar Settings > Calendar Configuration section, verify that the linked calendar is the correct one for booking appointments.
Adjust your Conflict Calendars to ensure the system knows which calendars to check for your availability.
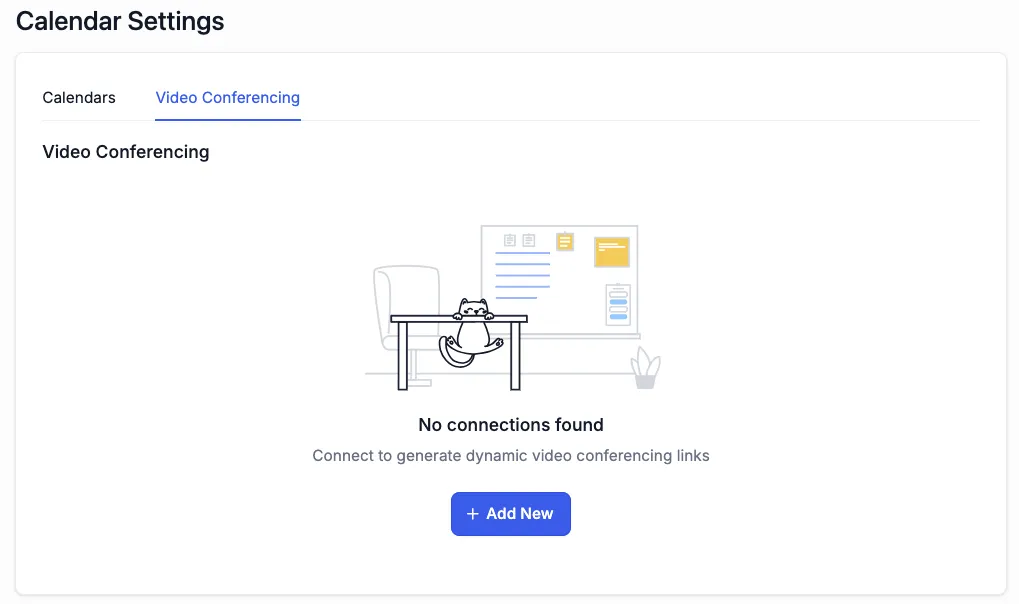
5. OPTIONAL: Configure Video Conferencing with Zoom
If you use Zoom for meetings, you'll need to configure the video conferencing settings.
In the My Profile > Calendar Settings section, click on Video Conferencing.
Click + Add New and follow the instructions to connect your Zoom account.
If you're only using Google Meet, make sure your Video Conferencing shows connected for that.
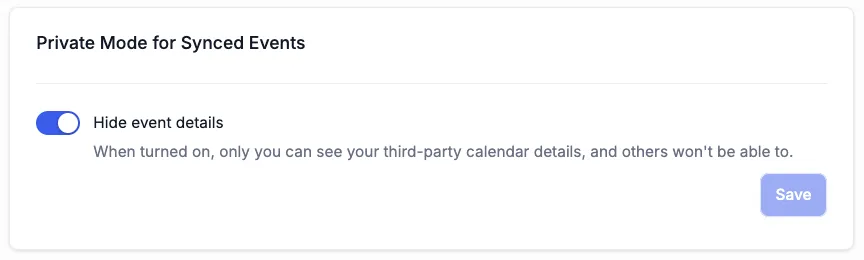
6. Set Privacy Preferences
If desired, you can enable Private Mode for Synced Events. This ensures that only you can see details of events from third-party calendars, while others won't have access to that information.
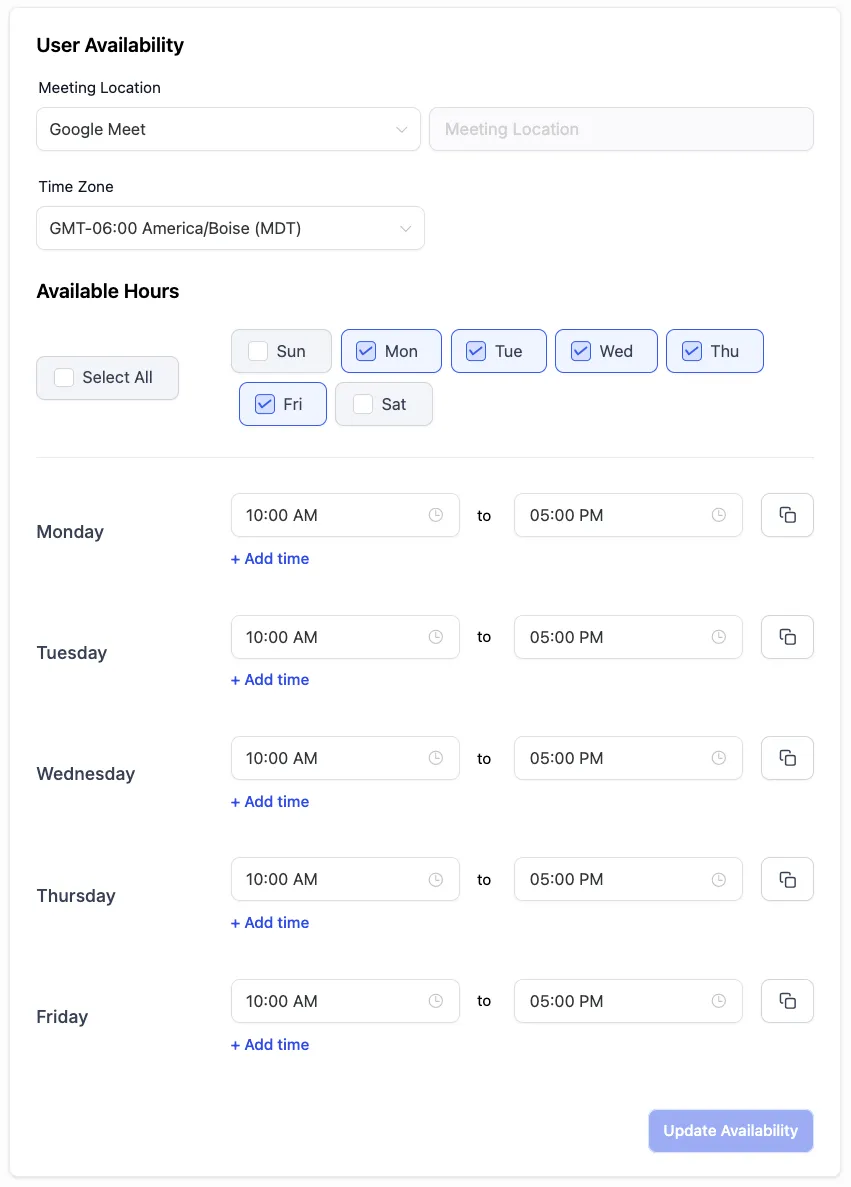
7. Configure Your Availability
Scroll down to the User Availability section.
Select your Meeting Location from the dropdown.
Set your Available Hours for appointments. The system will only book meetings during your available time slots.
Double check your Time Zone and make sure it is accurate.
Need Help?
If you encounter any issues during the process, submit a support ticket for assistance.